• Welcome to For E Bodies Only !

    We are a community of Plymouth Cuda and Dodge Challenger owners. Join now! Its Free!

1973 Mecum Creamsicle Challenger

Tim.g.howard

Active Member
Joined
May 16, 2023
Messages
38
Reaction score
32
Location
Katy, Texas
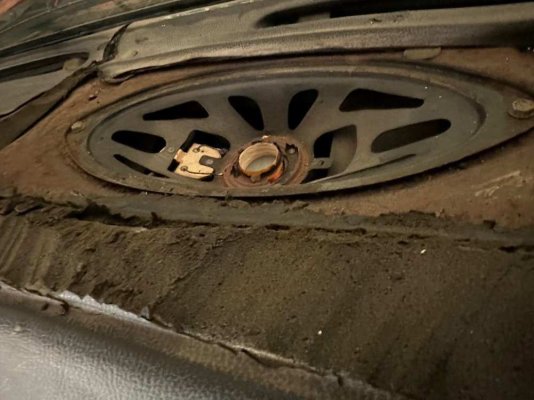
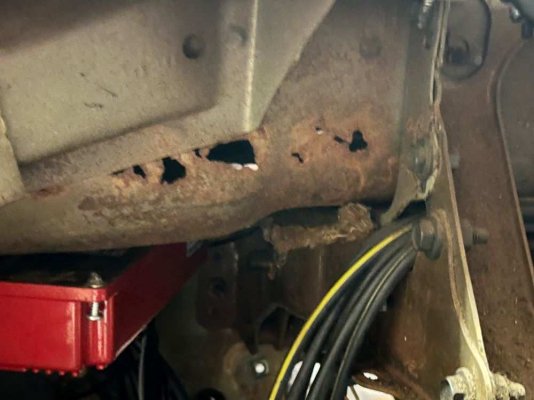
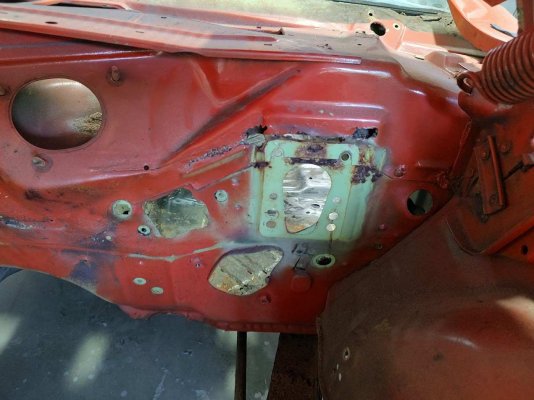
It's been almost a year since I sent an update but a lot has happened with this restoration. To start with I removed the dash cover and dash and had Just Dashes restore it. The dash was hiding some scary rust in the inner firewall.

The plastic dash cover...
Dash Cover FEBO.jpg


The dash being removed ...


Dash Removal.jpg

Dash Speaker.jpg
Dash Condition.jpg

Dash Out.jpg


Holes in my inner firewall...

Inner Firewall.jpg

I sent the dash to Just Dashes for restoration in February.
 

Tim.g.howard

Active Member
Joined
May 16, 2023
Messages
38
Reaction score
32
Location
Katy, Texas
Back in October of last year I sent the original seat belts to Ssnake-Oyl for restoration. I'm sure someone will correct me on this forum but it's my understanding that in 1973, Dodge had a one year only design for the passenger seat belt warning light wiring. Specifically the wiring for the light indicator switch was routed to the retractor side of the seat belt to indicate whether the belt had been retracted or not as opposed to being routed to the buckle side to detect if the belt had been buckled. My original belts were in pretty rough shape and the retractors weren't working at all. Some of the buckle buttons were damaged (as in the photo) and the rubber boots were damaged. I've not yet inspected the passenger sensor switch in the passenger seat cushion. I'll check that when restoring the seats.

original belts.jpg


When the good folks at Ssnake-Oyl returned my belts in December, they looked brand new and true to their word they left the wiring to the retractors untouched. They didn't test whether these worked or not which I'll have to do before reassembly but the belt metal was freshly chromed the boots look brand new as do the buckle buttons and the retractors operate like new. Thanks Ssnake-Oyl!

belt resto 1.jpg
belt resto 2.jpg
belt resto 3.jpg
 

Tim.g.howard

Active Member
Joined
May 16, 2023
Messages
38
Reaction score
32
Location
Katy, Texas
OK so let's try to catch up a little...

Back in June of 2023 I had purchased a new Chrome rear bumper from Auto Metal Direct to replace the body color painted one on the car. This was leaning against my garage back wall.
In July of '23 I bought an Auto Metal Direct Chrome Gas cap ring and installed it.
Last September I bought a new floor pan from Auto Metal Direct and it had been leaning against my garage wall.

In August of '23 I bought a cam, timing kit, lifters, rods, gaskets from Summit Racing with the intent of refreshening the 318 but that plan was scrapped when we discovered that the Crank and bearings were too far out of spec and would need to be machined (and I was already having the 440 built by the machine shop). All those parts are still sitting on shelves in my living room.

Around this time I also purchased an Auto Metal Direct E-Body Stiffening kit, sub-frame connectors, torque boxes, fender supports front fork support. Since I'd removed the interior, I stored this in the car.

Last November I was talked into buying the transmission from American Powertrain because they were having a "Bacon Fest" sale. I didn't realize it at the time but they actually send you Tennessee Smoked Bacon!! Very nice! Ate it all. Anyway, I bought a Tremec TKX 5-Speed transmission with an overdrive gear matched to the target 3.58 rear I'd been planning. The kit comes with a new floor tunnel, big block bell housing, pistol grip shifter (in a velvet bag), hardware, billet steel flywheel, pressure plate, hydraulic clutch kit, fluids, you get the idea. These boxes have been sitting in my dining room since they were shipped.

At some point around this time frame I ordered a Dakota Digital RTX Rallye Dash and that had arrived and is sitting in my dining room (along with the front seats and some interior trim (original automatic console).
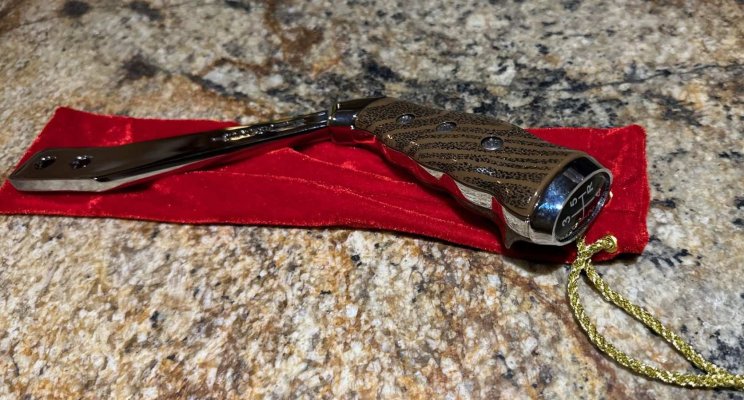

pistol Grip.jpg


In June, my ticket came up at the restoration shop Creative Classics & Customs (CCC: Classic Car Restorations, Customs and more!) in Kemah Texas.
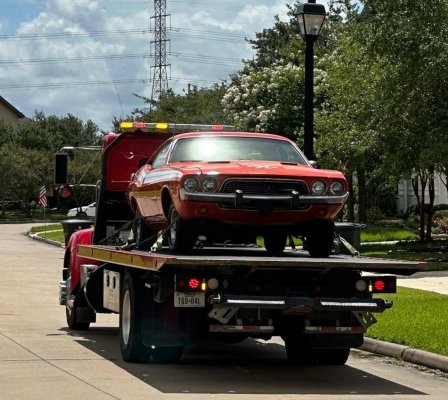
On June 26, I packed up the floor pan, manual tunnel conversion, bumper, and stiffening kit into the car. With some help I bolted the hood back on and the flatbed came and pulled the car from my garage where it had sat for more than a year. Off to the professionals!
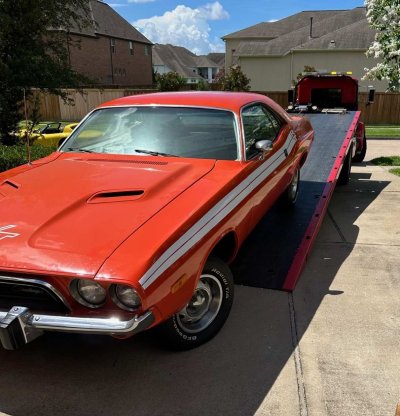
Loading Challenger.jpgDelivery to Kemah.jpg
 

Tim.g.howard

Active Member
Joined
May 16, 2023
Messages
38
Reaction score
32
Location
Katy, Texas
Ok so now things start to really pick up. The car arrives at Creative Classics & Customs on June 26 and the guys immediately get to work (stripping decals off).

Arrive at CCC.jpg

July 15th we start to see where all the rust issues are hiding...

windshield rust.jpg
C Pillar Hole.jpg

Before Engine Bay.jpg

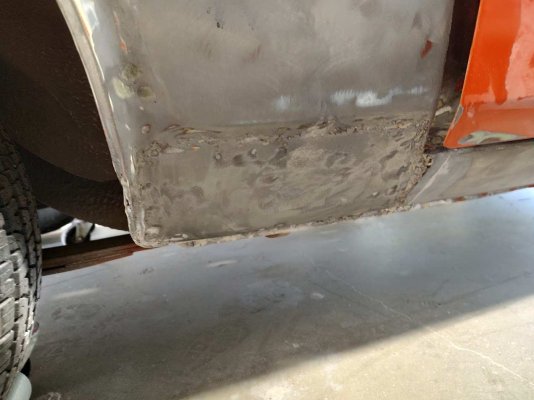
previous quarter panel patch.jpg
 

Tim.g.howard

Active Member
Joined
May 16, 2023
Messages
38
Reaction score
32
Location
Katy, Texas
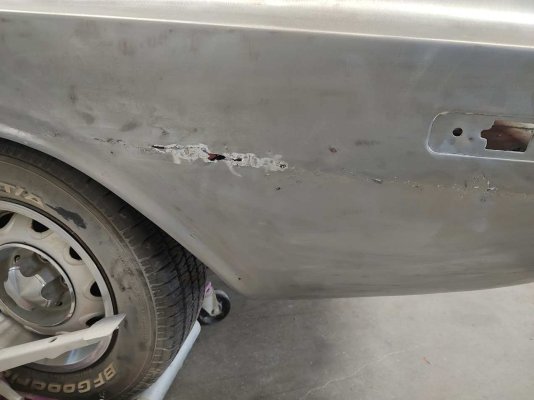
July 30th, The guys have stripped a lot of paint and exposed most of the body issues.

Fender patch work.jpgStripped Fender.jpg

Signs of previous patch work on the driver's fender...
Drivers quarter.jpg

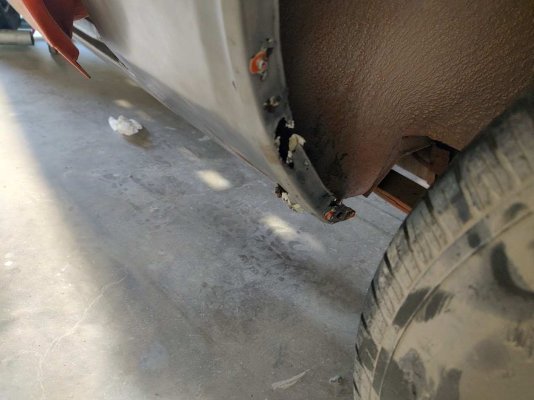
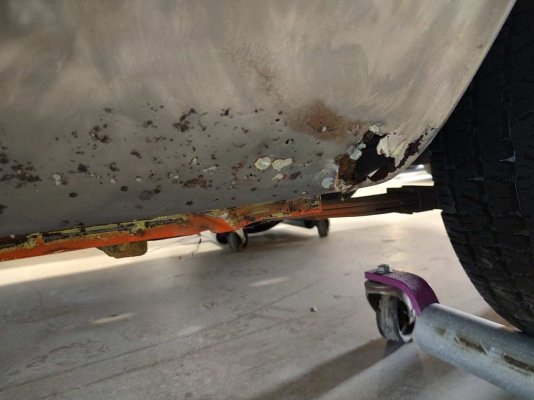
Quarter well.jpgquarter holes.jpg
Lot's of holes in the Quarter panels...
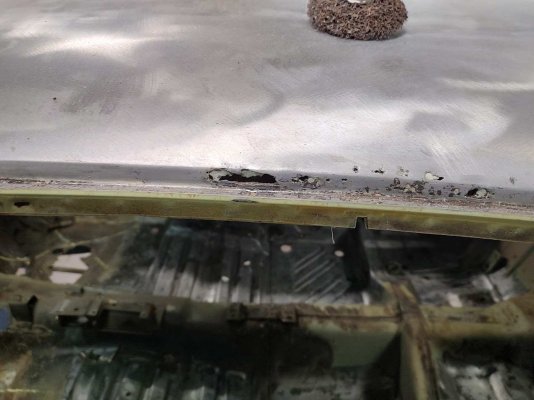
Roof holes.jpg
Holes in the roof skin....

firewall holes.jpg

Big holes in the firewall failing to hold the break booster in place...

So, Ordered new roof, quarters, fender, and firewall from AMD.
 

Tim.g.howard

Active Member
Joined
May 16, 2023
Messages
38
Reaction score
32
Location
Katy, Texas
September 17th

Installed the AMD E-Body Stiffening kit and epoxy...

Subframe Connector and Torque Box...
Right SFC TB.jpgLeft SFC TB.jpg

Front Torque Boxes
Right TB.jpg
Left TB.jpg

Fender Supports
Right Fender Support.jpg
Left Fender Support.jpg

Radiator Support
Radiator Support Brace.jpg

Epoxy
Engine Bay Epoxy 2.jpgBody Epoxy.jpg
 

Tim.g.howard

Active Member
Joined
May 16, 2023
Messages
38
Reaction score
32
Location
Katy, Texas
September 20-27th

The underbody was coated.

undercoat front.jpgUndercoat mid.jpgUndercoat rear.jpg

Fuel lines are being installed and you can see the QA1 rear suspension bar welded into place.


Fuel Lines.jpg

Finally, a spray out of the color scheme and stripes.... Let me know what you think!

Spray Angle.jpgSpray front.jpg
 
Last edited:

Tim.g.howard

Active Member
Joined
May 16, 2023
Messages
38
Reaction score
32
Location
Katy, Texas
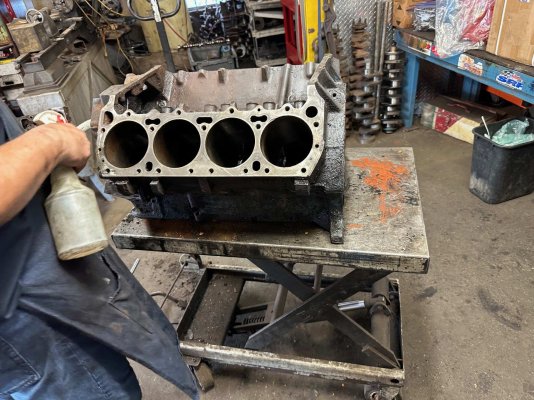
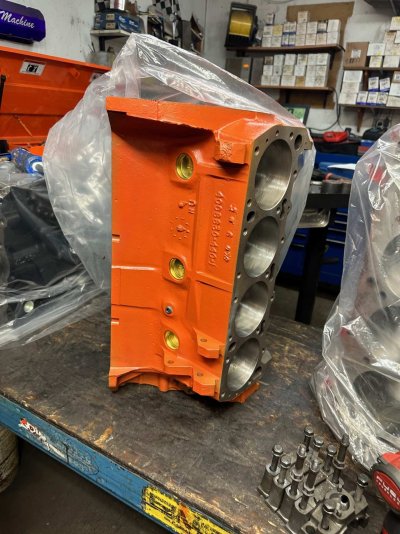
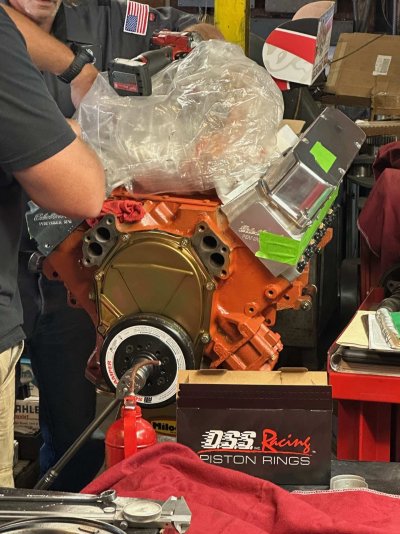
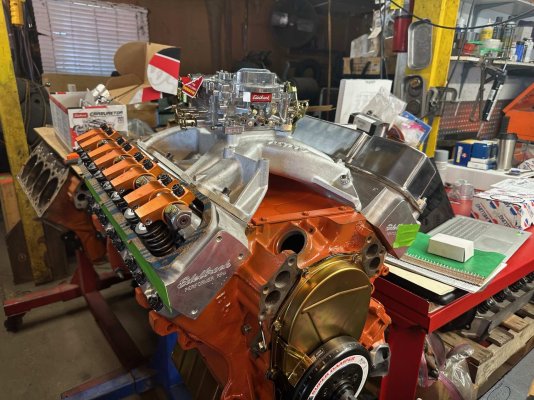
The 440 Stroker Engine:

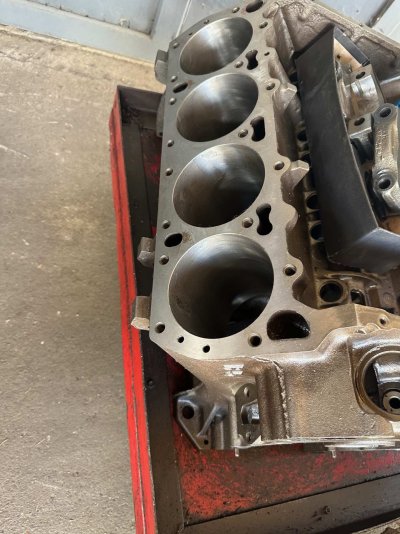
A block is selected and prepped and cleaned:
Cleaning 2.jpg

Bores.jpg

Parts are collected for the Short Block and the Block is painted:

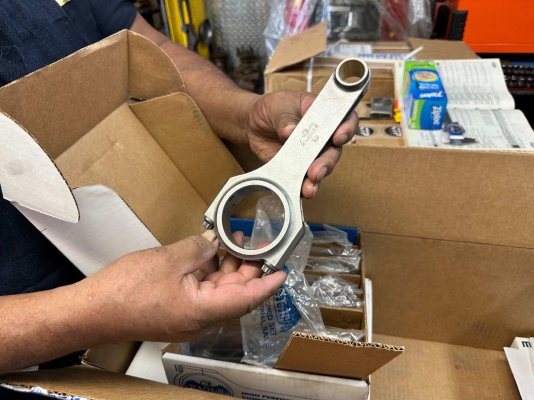
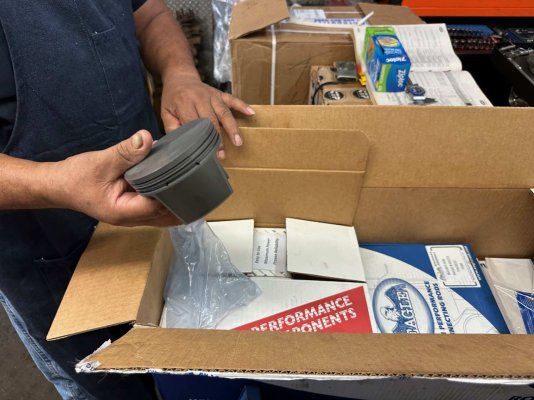
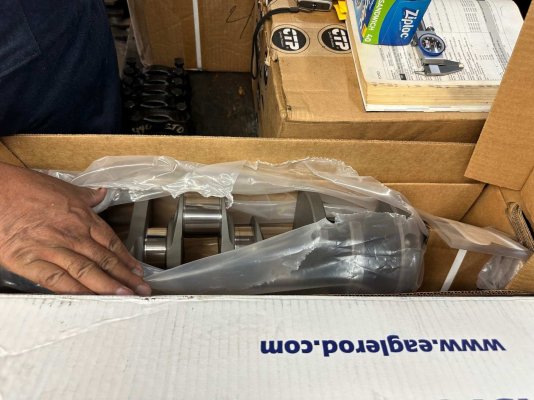
Eagle Piston Arms and Crank
Eagle Arms.jpg
Piston.jpg
Eagle Crank.jpg
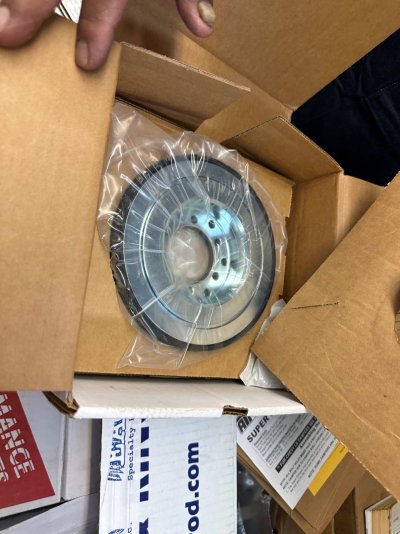
ATI Super Damper
Super Damper.jpg
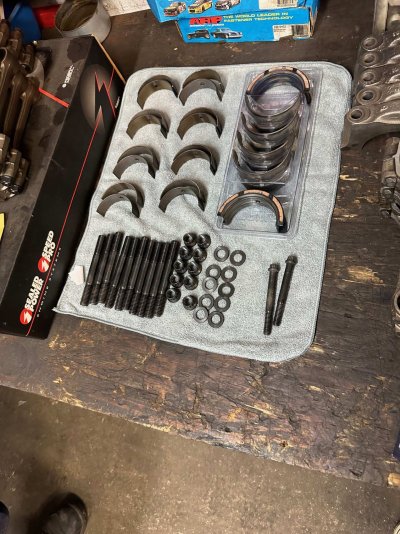
Bearings and ARP Hardware
Bearings.jpg
Paint
Paint.jpg

The Long Block was in final assembly this week (Oct 27)
Assembly.jpg
Long Block.jpg

Engine delivered to the Resto Shop!
 
Back
Top