• Welcome to For E Bodies Only !

    We are a community of Plymouth Cuda and Dodge Challenger owners. Join now! Its Free!

71 RT resurrection

gdrill

Well-Known Member
Joined
Aug 16, 2015
Messages
226
Reaction score
75
Location
Just North of Montana
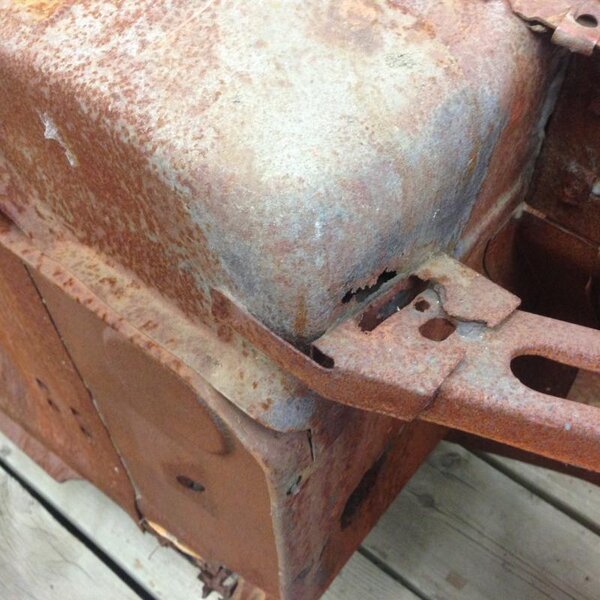
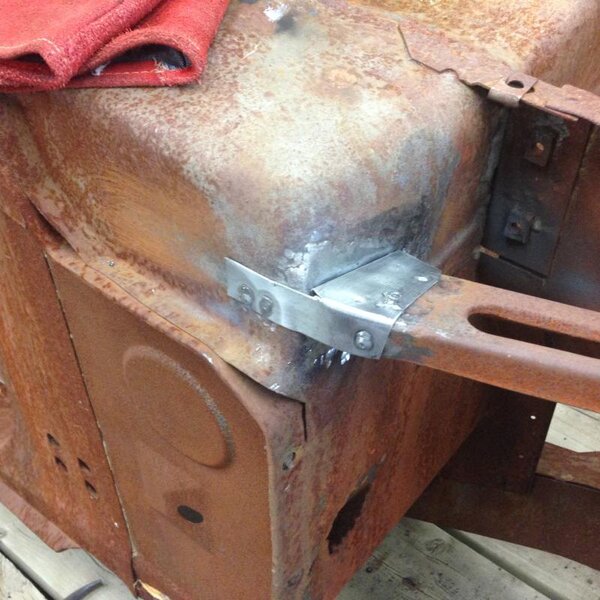
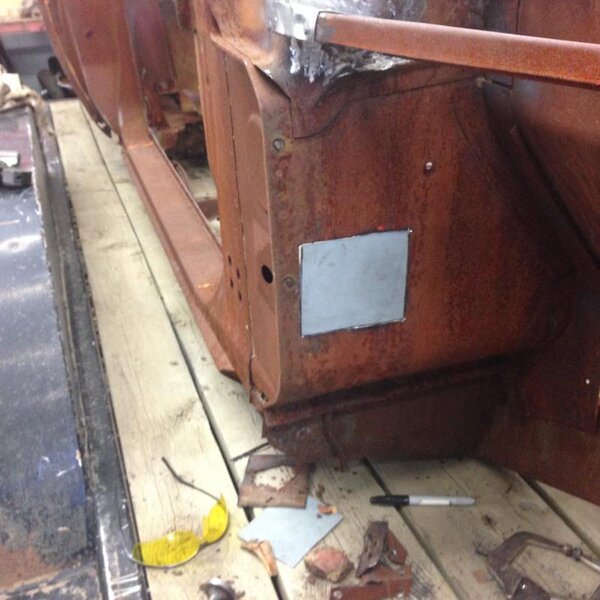
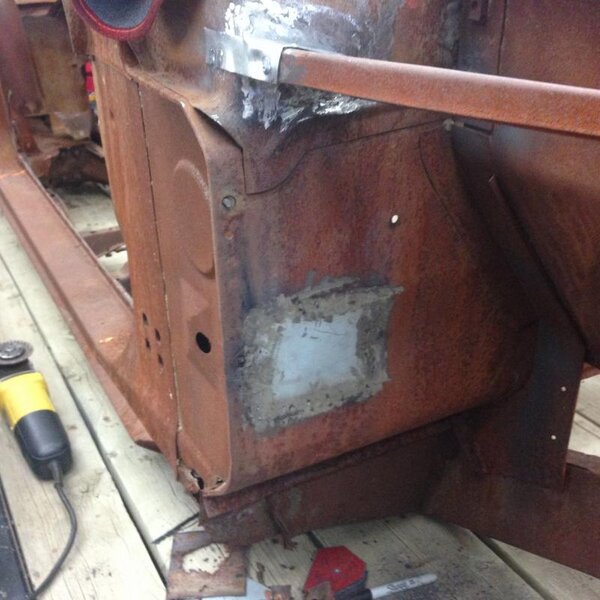
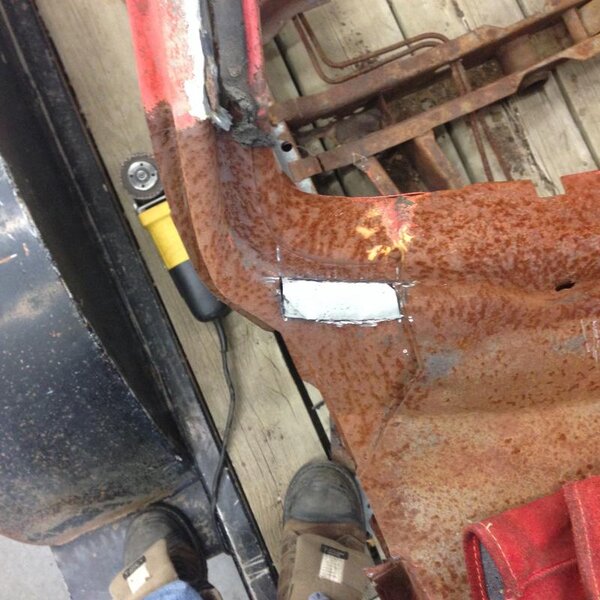
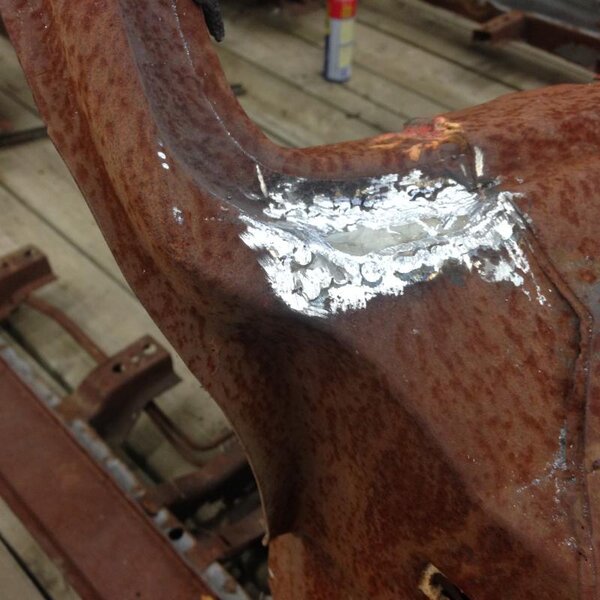
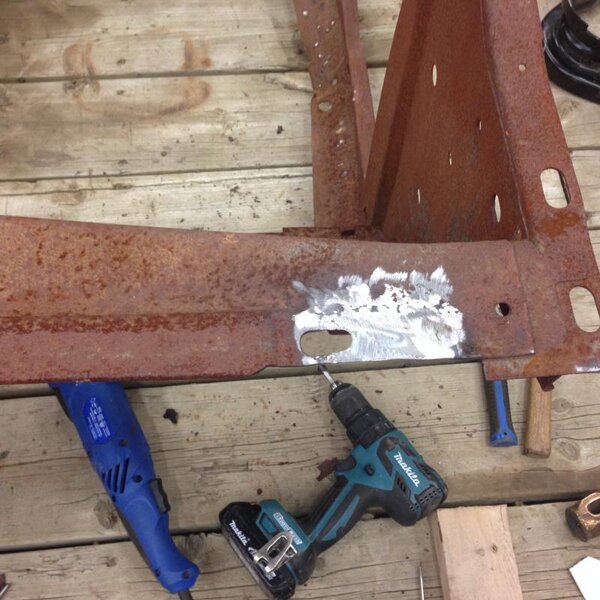
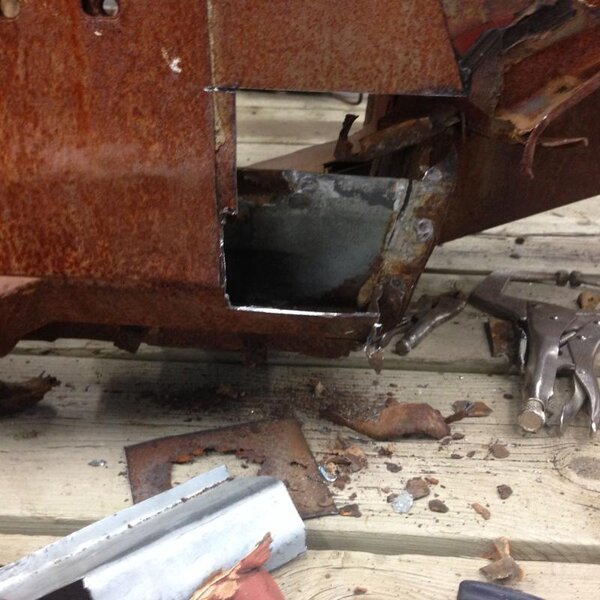
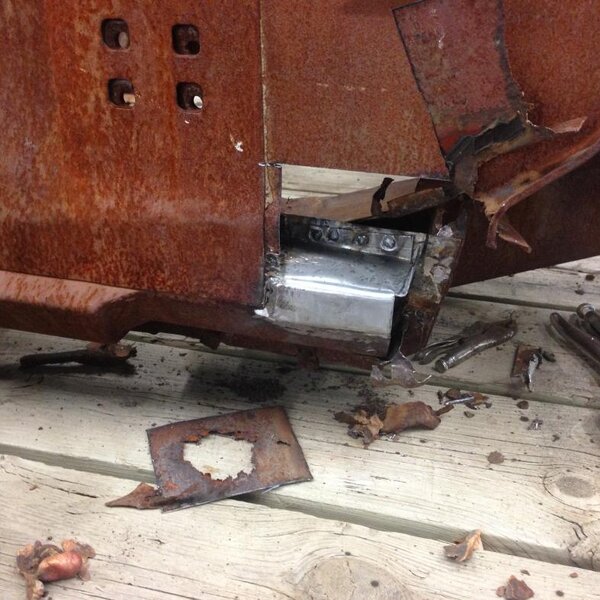
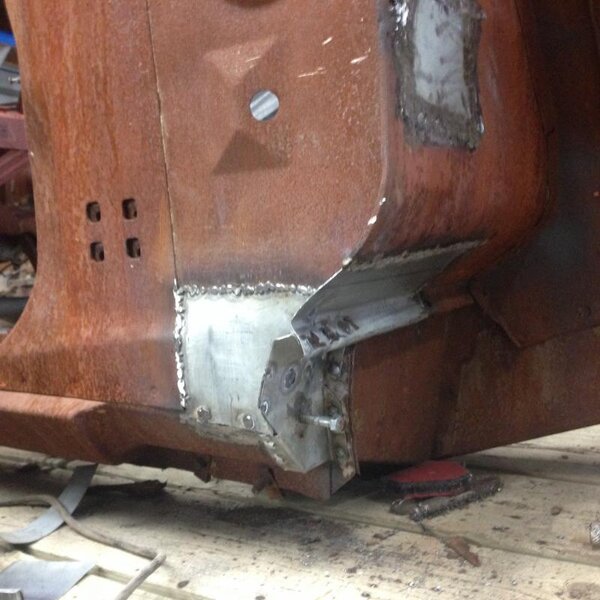
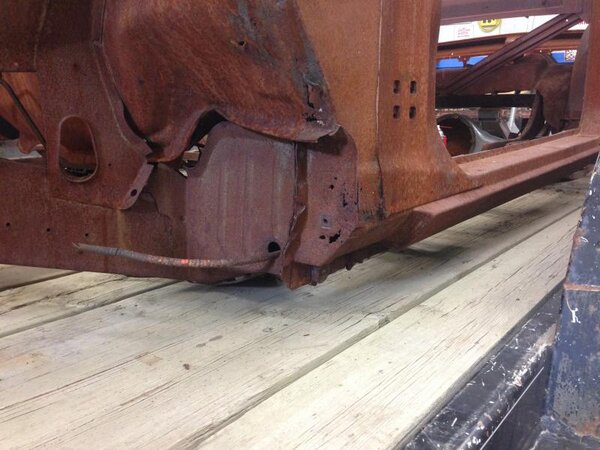
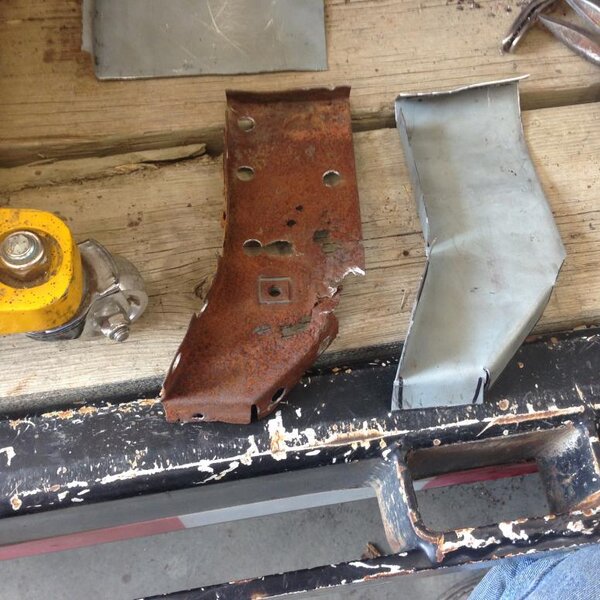
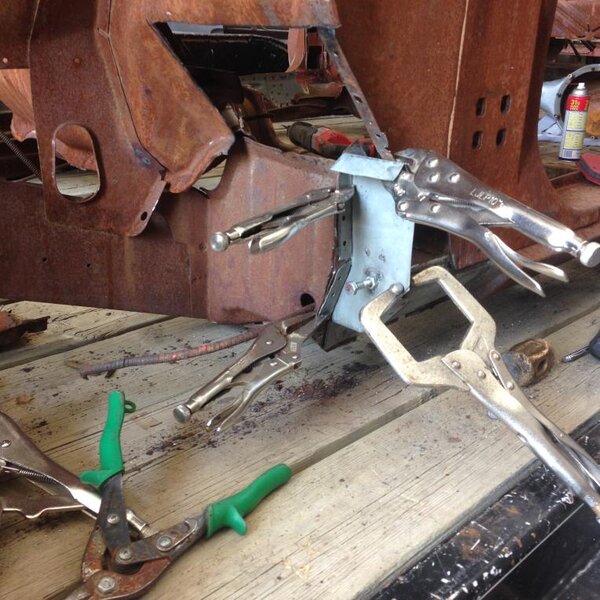
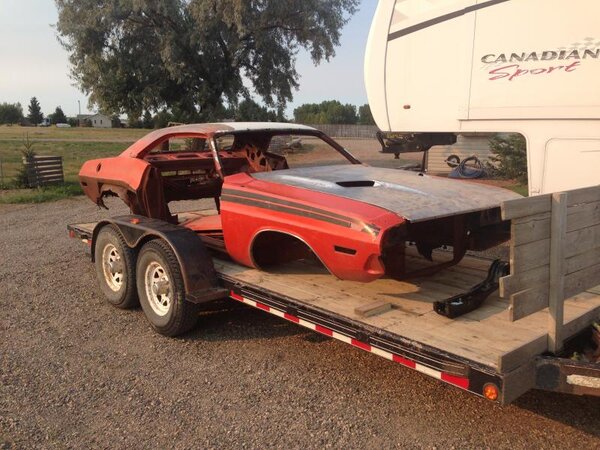
This is my 71. I got it in a trade. I have always wanted a Challenger, but when Barrett Jackson drove the prices through the roof I kinda gave up on the idea. Well now one of my long time dreams has come true. It needs a lot, but I am not going to do a show car restoration, just a nice resurrection. It was a fairly nicely appointed car when built with typical RT stuff minus a radio, wing and stripes. The floors were already cut out of it and it was sandblasted but not sprayed. It will need quarters, inner rear wells, about 1 foot sectioned onto each rear rail, floor pans throughout and the torsion bar cross-member which came with it. That's the big stuff anyway. I am patching up the rust around the front of the firewall and cowl and then will move to the back rockers. The inner fenders are actually very nice, you gotta remember this is a Canadian car! Anyway, here are some pics of where I am starting out at. Remember, I'm not a body man so don't come down on me too hard please!

IMG_2320.jpg

IMG_2325.jpg

IMG_2326.jpg

IMG_2327.jpg

IMG_2328.jpg

IMG_2330.jpg

IMG_2332.jpg

IMG_2334.jpg

IMG_2320.jpg


IMG_2325.jpg


IMG_2326.jpg


IMG_2327.jpg


IMG_2328.jpg


IMG_2330.jpg


IMG_2332.jpg


IMG_2334.jpg
 
Last edited:

gdrill

Well-Known Member
Joined
Aug 16, 2015
Messages
226
Reaction score
75
Location
Just North of Montana
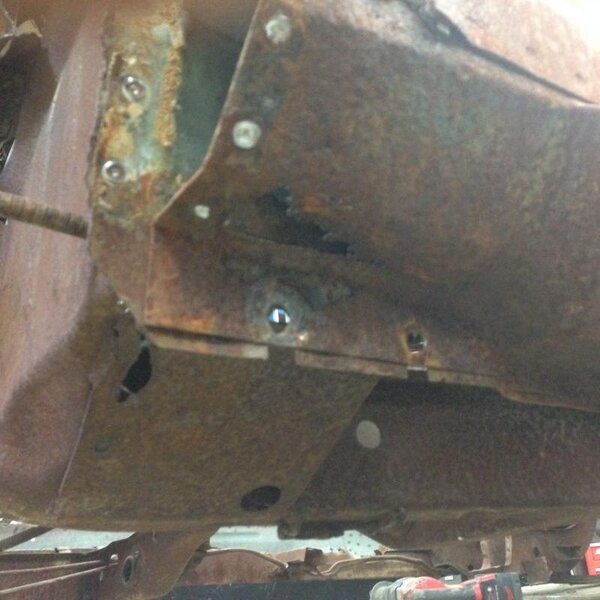
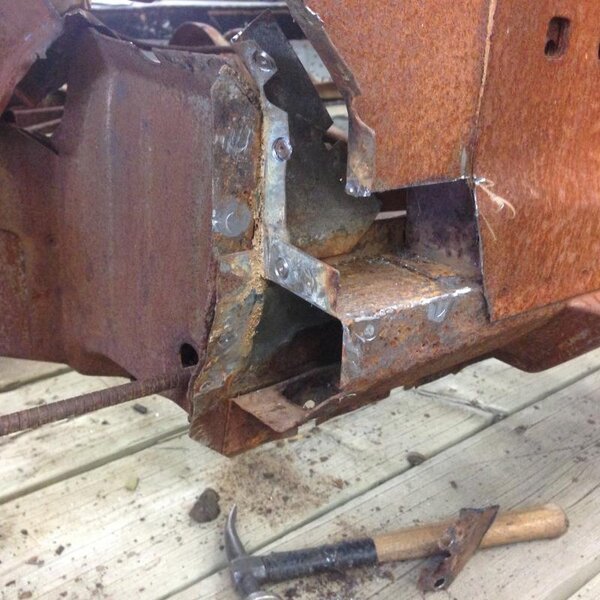
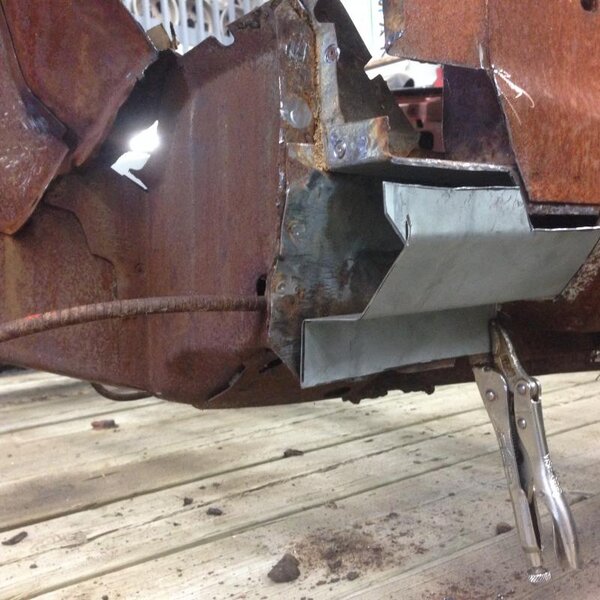
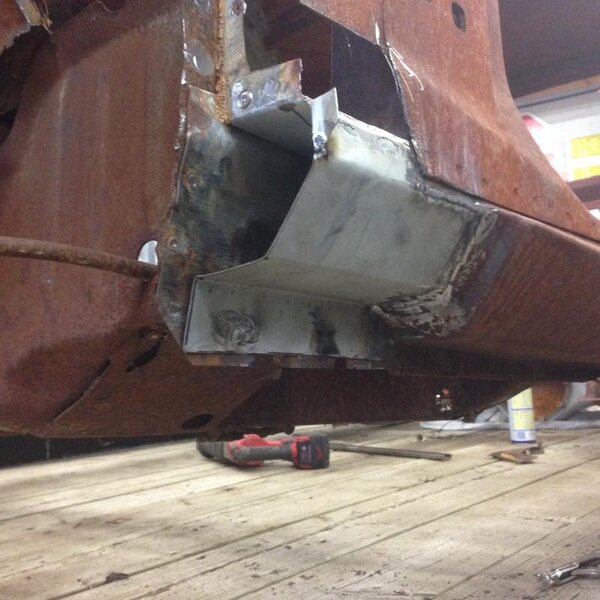
Front passenger side

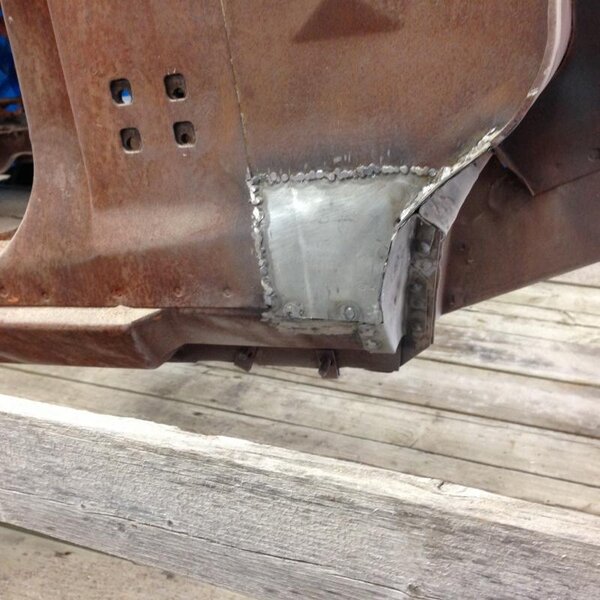
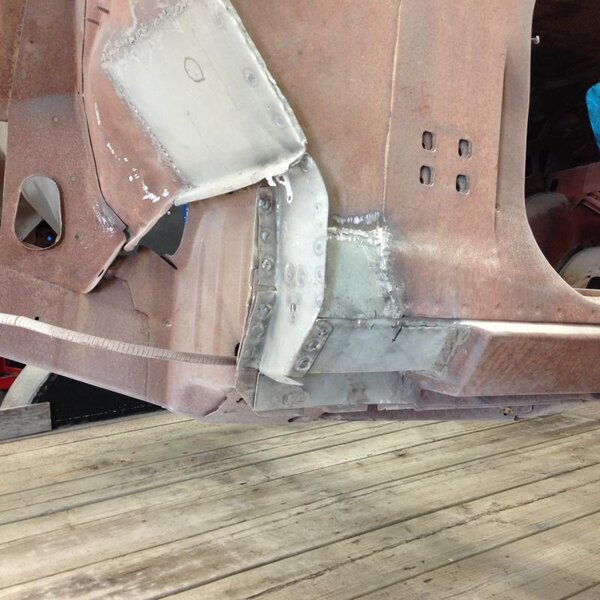
The passenger side was the worst, but overall not terrible. I forgot to put the nutsert in behind so I had to drill a larger hole and weld a nut in afterward. Doh! I remembered for the driver side.

IMG_2335.jpg

IMG_2339.jpg

IMG_2345.jpg

IMG_2390.jpg

IMG_2335.jpg


IMG_2339.jpg


IMG_2345.jpg


IMG_2390.jpg
 

gdrill

Well-Known Member
Joined
Aug 16, 2015
Messages
226
Reaction score
75
Location
Just North of Montana
Sandblasting

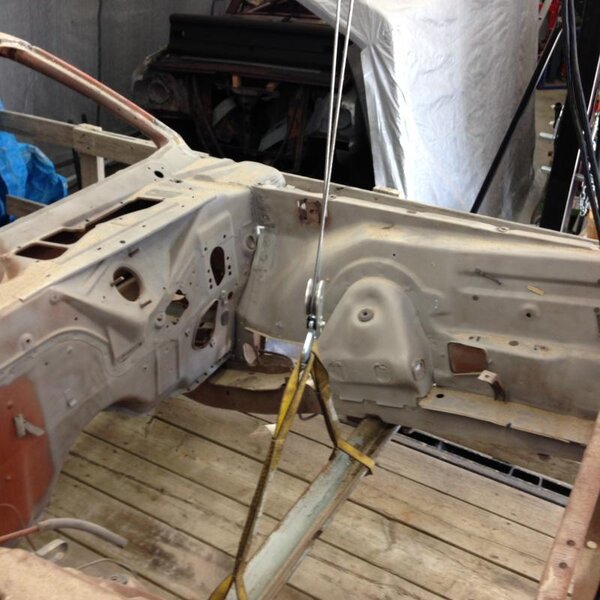
A buddy has a little 5 gallon blaster so I borrowed it to clean things up. It would be nicer if it was bigger, but beggars can't be choosers! I have now learned that blasting paint off is far easier than re-blasting. The surface rust is into all the tiny pits from the previous job so it is taking more time than I had hoped. But it looks good so it is worth the effort.

IMG_2392.jpg

IMG_2392.jpg
 

gdrill

Well-Known Member
Joined
Aug 16, 2015
Messages
226
Reaction score
75
Location
Just North of Montana
Thank you. I currently have the door panels. The fellow I got it from has a shed stuffed full of parts so I have to go back and get a bunch of things. He said he has lots of the parts to go with it. Door/window hardware, seats, console, exterior trim etc. It was just a case of getting at it.
 

moparlee

Well-Known Member
Joined
Jul 25, 2011
Messages
3,050
Reaction score
1,310
Location
Mid Michigan
You are off to a great start. Your fabrication looks good and you have lots of progress in a short time. Are you going to put it back to stock condition? I like 71's, have a 71 RT myself.
 

gdrill

Well-Known Member
Joined
Aug 16, 2015
Messages
226
Reaction score
75
Location
Just North of Montana
Thank you. Actually, short of drive train and wheels, I am thinking it would look very nice as it was originally built. White roof, white interior and EV2.
 

ECS

Well-Known Member
Joined
May 4, 2012
Messages
354
Reaction score
54
The inner was OK but the outer was worse off the the passenger side.

I'm not trying to be rude or condescending with my questions. Are you concerned with longevity of the repairs due to the rust not being removed prior to the "new" metal pieces being welded into place? By not removing the corrosion especially in the concealed areas along the rocker panels, the new welded patch pieces have sealed the corrosion. Stripping the rust prior to repairing the metal would greatly help in eliminating future issues with the repairs or paint problems.
 

resq302

Well-Known Member
Joined
Aug 20, 2013
Messages
111
Reaction score
11
I agree with ECS. I commend you for having the skill to do the welding. I am not so fortunate as I do not know the first thing about welding, however, I do know that you need a good, clean surface in order for the weld to hold. If it were me, what I would have done first was to have sand blasted the metal to remove the rust. This would also give it a nice clean, rough area for the weld to bite onto. All the panel replacement in the world isn't going to matter if you don't remove the cancer (rust) before hand. Over the years, the one thing that I learned and stuck in my mind was that you need to remove all of the rust otherwise it comes back with a vengeance big time. A little extra now will definitely save you a ton of money later on as you only have the base to build off of. Weak base tends to have welds pop, rust bubble up under paint, etc.

Keep up the progress. Its no easy task but as long as you have forward momentum, its still progress.
 

gdrill

Well-Known Member
Joined
Aug 16, 2015
Messages
226
Reaction score
75
Location
Just North of Montana
I'm not trying to be rude or condescending with my questions. Are you concerned with longevity of the repairs due to the rust not being removed prior to the "new" metal pieces being welded into place? By not removing the corrosion especially in the concealed areas along the rocker panels, the new welded patch pieces have sealed the corrosion. Stripping the rust prior to repairing the metal would greatly help in eliminating future issues with the repairs or paint problems.

I agree with ECS. I commend you for having the skill to do the welding. I am not so fortunate as I do not know the first thing about welding, however, I do know that you need a good, clean surface in order for the weld to hold. If it were me, what I would have done first was to have sand blasted the metal to remove the rust. This would also give it a nice clean, rough area for the weld to bite onto. All the panel replacement in the world isn't going to matter if you don't remove the cancer (rust) before hand. Over the years, the one thing that I learned and stuck in my mind was that you need to remove all of the rust otherwise it comes back with a vengeance big time. A little extra now will definitely save you a ton of money later on as you only have the base to build off of. Weak base tends to have welds pop, rust bubble up under paint, etc.

Keep up the progress. Its no easy task but as long as you have forward momentum, its still progress.

Thank you guys for your comments. No offense taken.
Yes, I do wish I had the blaster first, but once it was sitting in the shop, I just couldn't resist doing some cutting and welding. I am learning as I go, and now that I am blasting it everything from here on should appear better. Because the car was blasted before, all the holes were already exposed and this is mostly surface rust I am taking off. I also wish there was some way to dip the car around here, because even blasting won't get in the seams.

I've seen some of you're work ECS. Nothing short of incredible. I appreciate that you even looked in here and made a comment! As I said earlier though, this is just a low budget resurrection driver. I drive on a gravel road every day. Reality is this car, like most, will not see much rain ever again. It will live in a shop and odds are if I never get to doing a full restoration, it will still outlive me. Nothing I have done or will do can't be undone and replaced though (and I may yet do so). I have seen many builds where guys have cars apart at every spot weld. Wow, I commend their abilities and efforts. "Maybe" someday I will spend the money on all the AMD sheet metal and "restore the body correctly". And I use the term "restore" loosely!

On the welds I did before my blasting, I ground the edges with a die grinder. If the steel was too thin I went a little bigger until I thought it was strong enough, then made my patch fit that. The only thing really "sealed" is inside the inner rocker, which you can't blast anyway, I guess I could remove the whole thing. The inside where the floor joins will be blasted today. If when I blast the areas around where I patched it goes through, I'll make another patch.

Thanks for looking in guys.
 

js29

Well-Known Member
Joined
Aug 5, 2012
Messages
671
Reaction score
152
Location
lee center ny 13363
excellent metal fabrication! but I always clean up behind and around the area etch prime and seal all covered area's then I get out weld through primer SEM 40783 copperweld works best for me. put A thin coat, you don't want to go to thick with it. apply to the front and back on panel you are fixing, and on the back side of the patch. BTW you can use SEM ready to spray etch primer on your bare metal and do your filler work over the top of it.
 

gdrill

Well-Known Member
Joined
Aug 16, 2015
Messages
226
Reaction score
75
Location
Just North of Montana
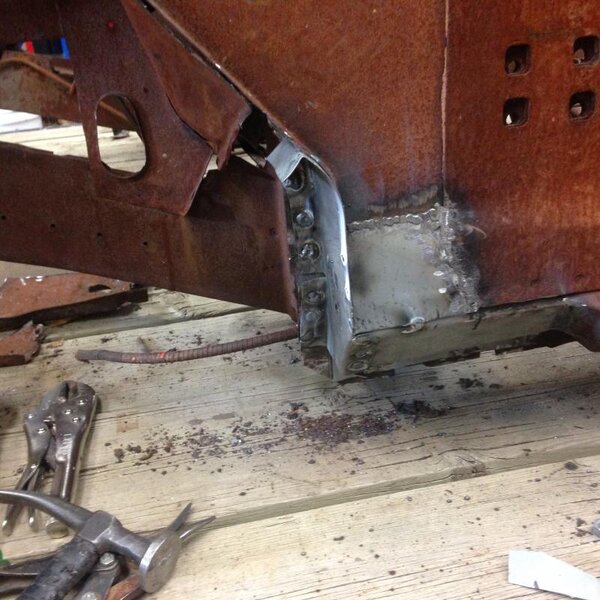
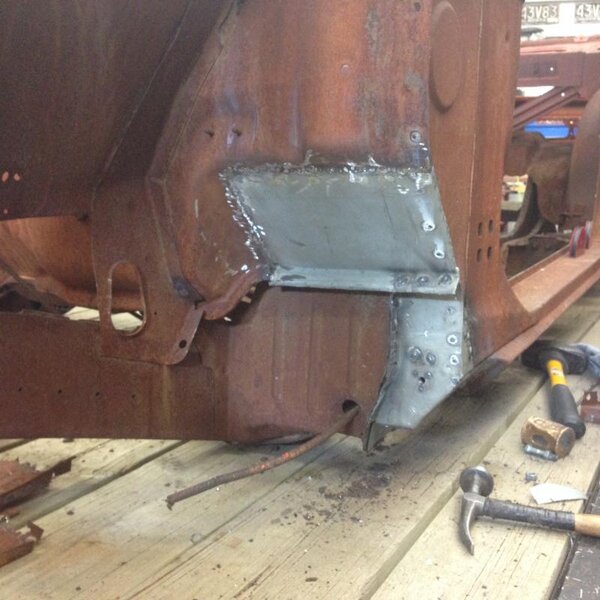
Thanx js. Good info. I will have to go get some of the etch primer. Maybe I'll have to buy the front rocker repair sections and open them up again and repair them properly.
 

ECS

Well-Known Member
Joined
May 4, 2012
Messages
354
Reaction score
54
Thank you guys for your comments.......Reality is this car, like most, will not see much rain ever again.

The pieces you have cut and welded into place look fantastic. Having to bend and form new parts can be quite difficult but you have definitely mastered that task. Not exposing the vehicle to moisture is a great way to preserve your hard work. Great job!
 

ECS

Well-Known Member
Joined
May 4, 2012
Messages
354
Reaction score
54
.....but I always clean up behind and around the area etch prime and seal all covered area's then I get out weld through primer SEM 40783 copperweld works best for me. put A thin coat, you don't want to go to thick with it. apply to the front and back on panel you are fixing, and on the back side of the patch. BTW you can use SEM ready to spray etch primer on your bare metal and do your filler work over the top of it.

That process will work great in eliminating future corrosion issues. Thanks for sharing.
 

js29

Well-Known Member
Joined
Aug 5, 2012
Messages
671
Reaction score
152
Location
lee center ny 13363
Metal here in the north east WILL rust just from condensation we experience do to the humidity. I etch right after I sand blast, blasted metal seams to rust faster than just plane bare metal.
 

gdrill

Well-Known Member
Joined
Aug 16, 2015
Messages
226
Reaction score
75
Location
Just North of Montana
Thank you mmissle. Patience isn't one of my virtues, but I'm working on it!

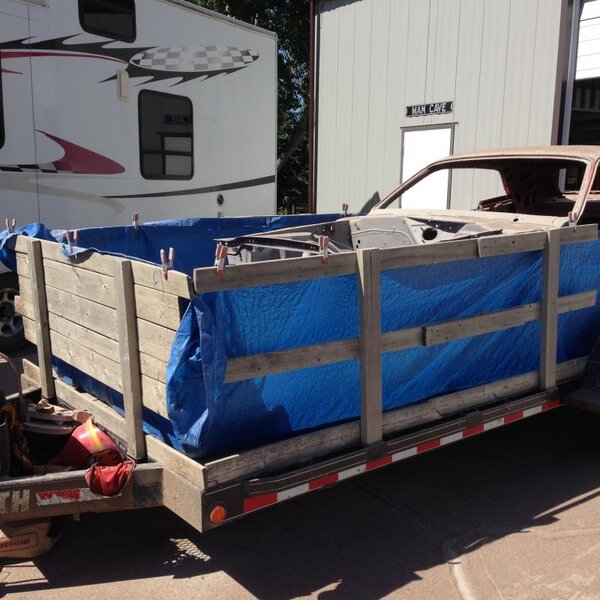
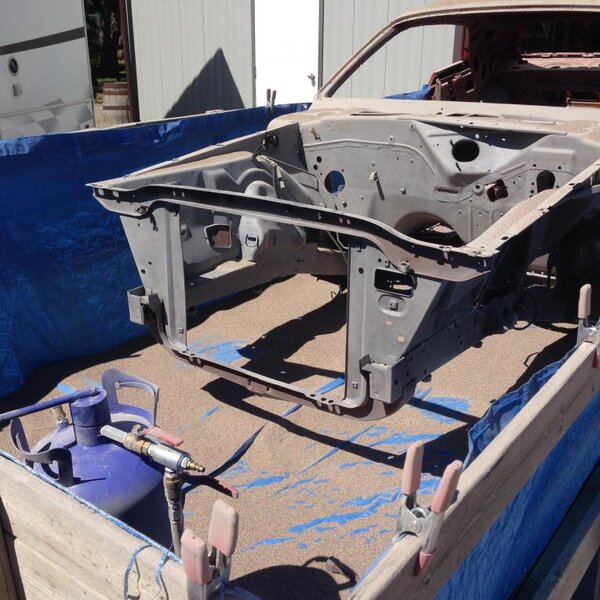
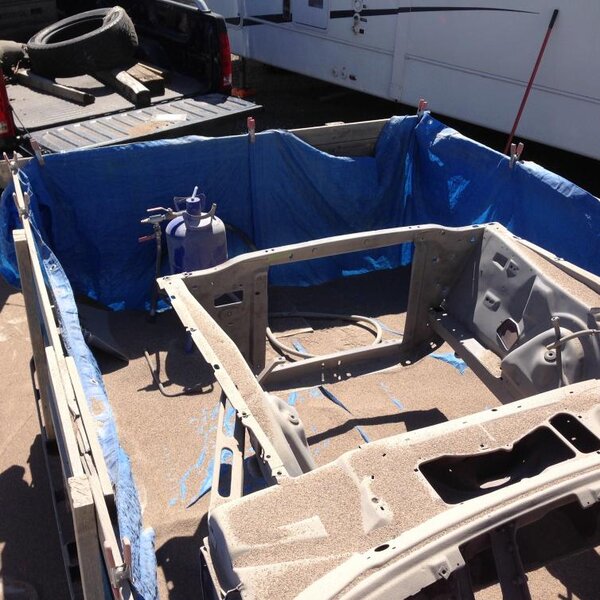
I rigged up some containment on my trailer. I also had a little tent over it for shade and to control the spread. I haven't removed the car from it yet due to it not being a roller. Plus I want to do any frame repairs before I install all that stuff. I got the inside of the engine compartment blasted but had to stop. It's just too hot today!

IMG_2396.jpg

IMG_2395.jpg

IMG_2397.jpg

IMG_2396.jpg


IMG_2395.jpg


IMG_2397.jpg
 
Back
Top