You are using an out of date browser. It may not display this or other websites correctly.
You should upgrade or use an alternative browser.
You should upgrade or use an alternative browser.
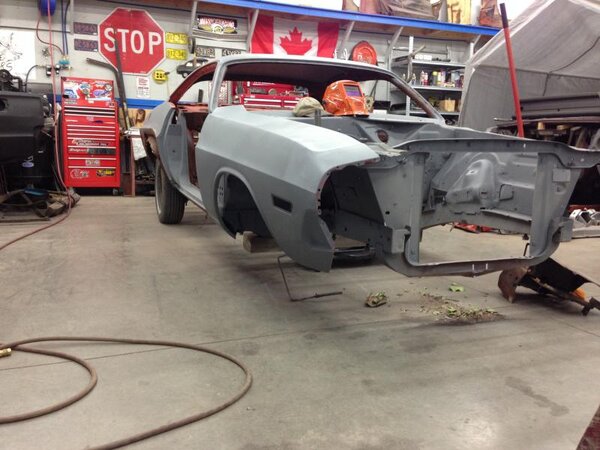
71 RT resurrection
- Thread starter gdrill
- Start date
gdrill
Well-Known Member
DetMatt1
Well-Known Member
Coming along very nicely. You're not helping me not regret selling my '70 project. I miss doing rust repair like that and that one had a lot of them.
gdrill
Well-Known Member
Thank you Matt. I'm sorry for any sadness as a result of not having a bunch of steel that needs replaced! But I agree I am actually enjoying this a lot. In my eyes, the car has improved drastically from what I brought home. And that leaves me with great satisfaction.
gdrill
Well-Known Member
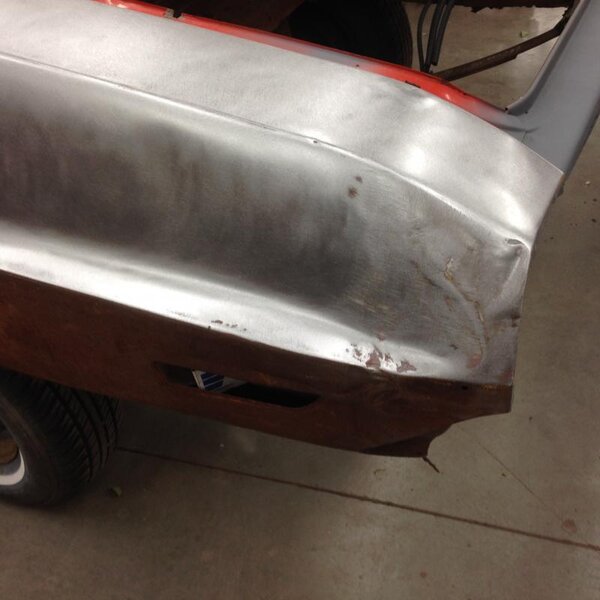
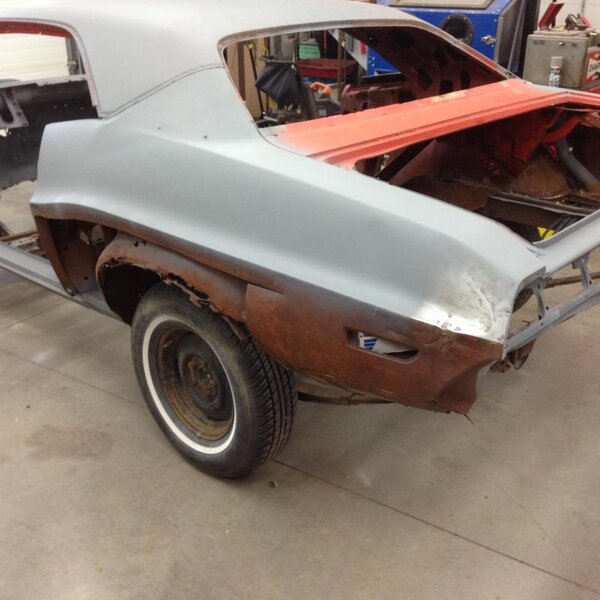
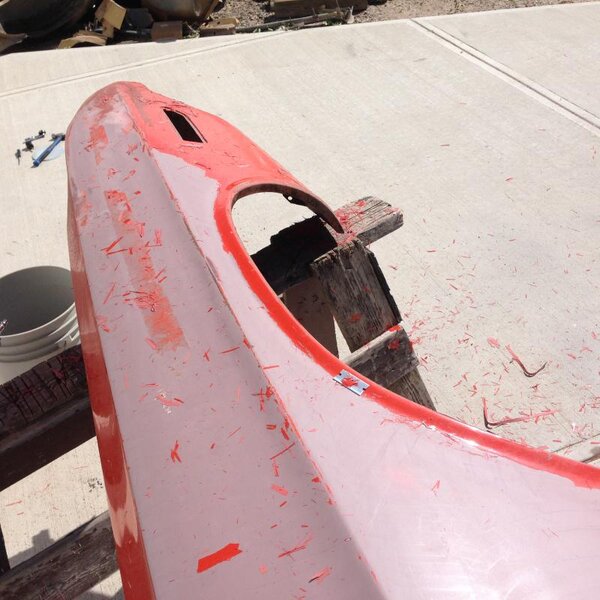
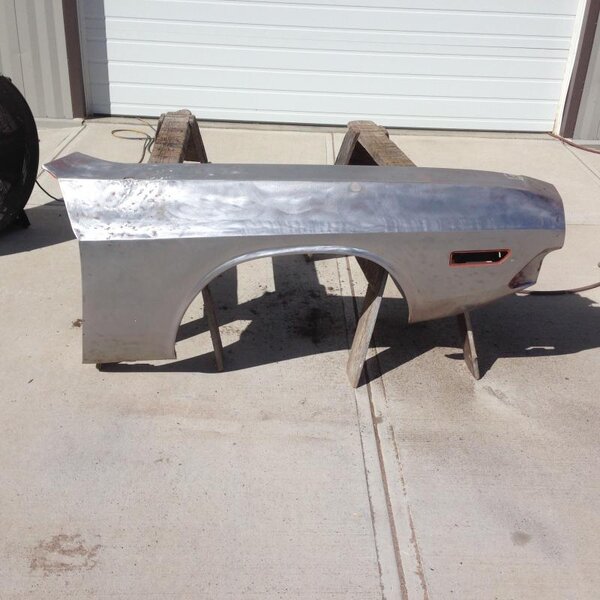
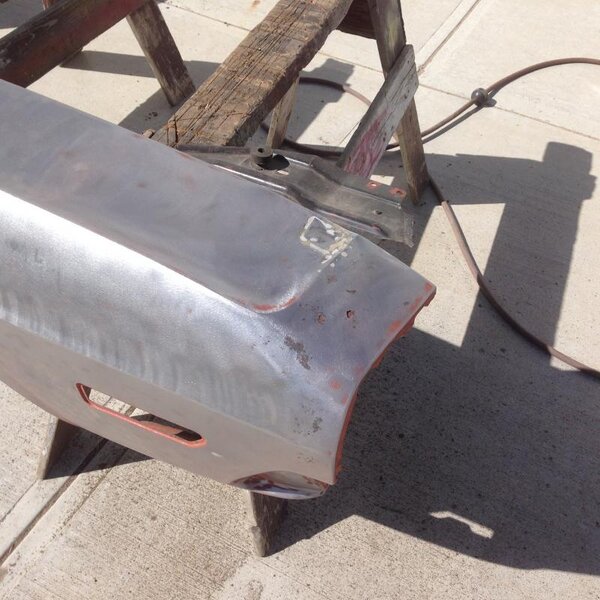
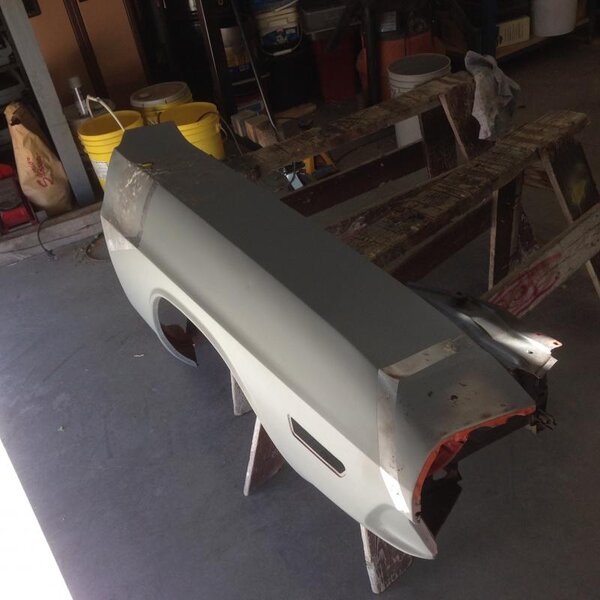
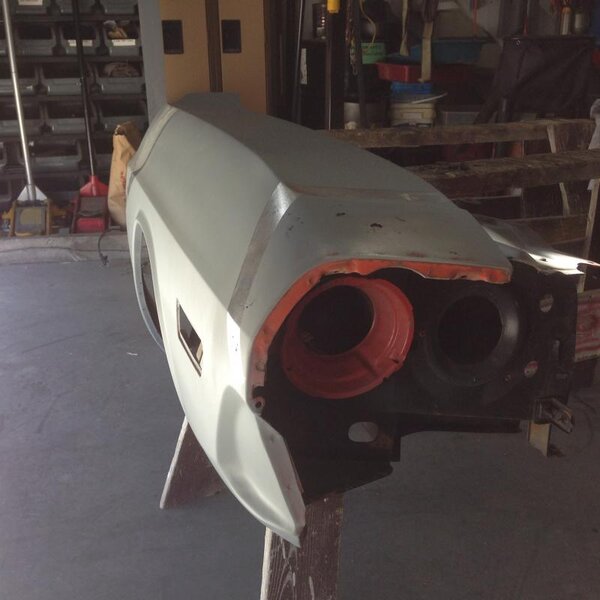
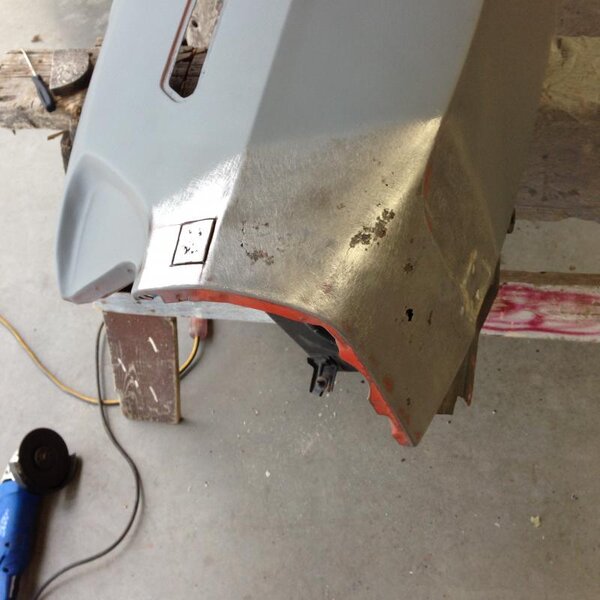
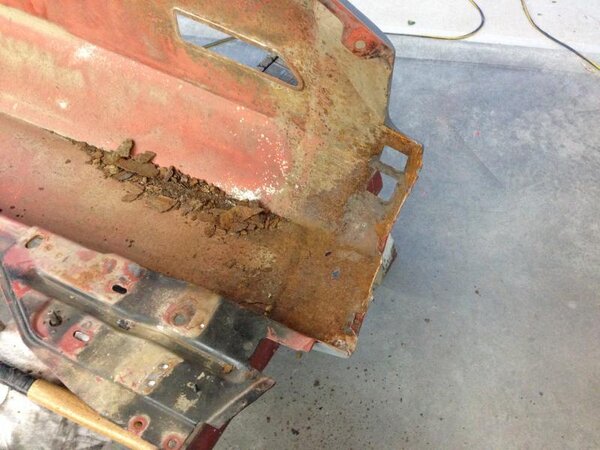
I sanded the passenger fender down. It was nice that the previous paint job was done badly. I was able to scrape all the orange off with a razor blade, at least the second paint job anyway. I'm not sure if I can save it or if it's worth it. I know they repop them, but I am trying to save everything I can. The back end I can repair for sure but the front will be way more work. If I had the front 12" of another fender I could just cut the skin and replace it that way. Too bad, it's nice and straight otherwise.


gdrill
Well-Known Member
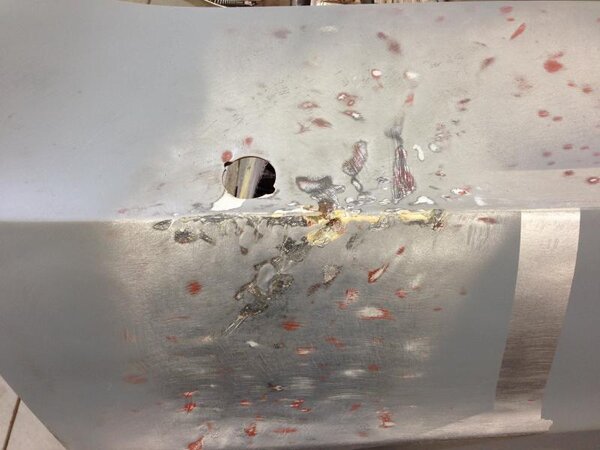
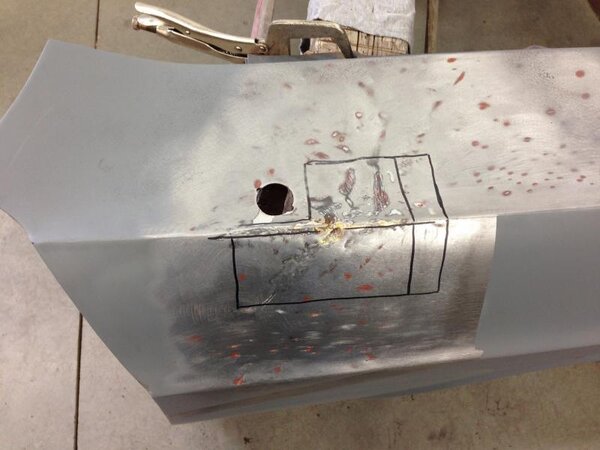
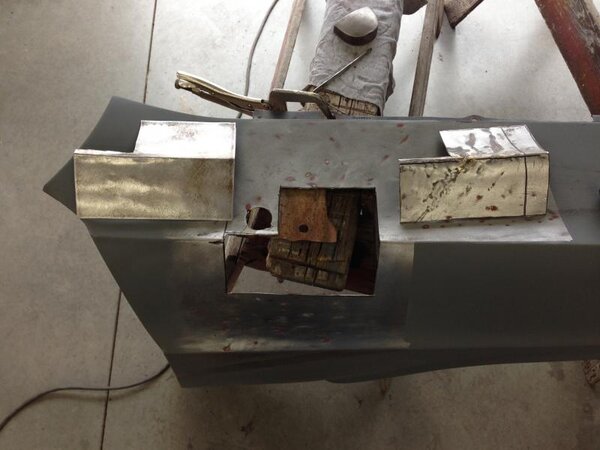
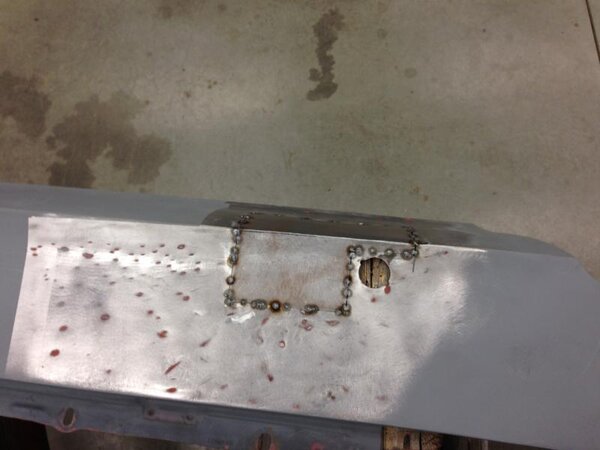
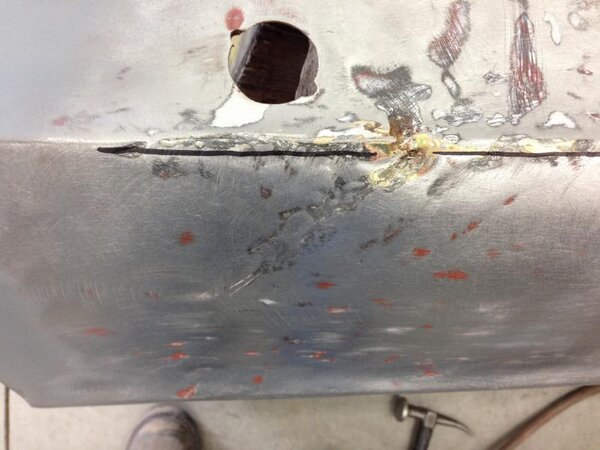
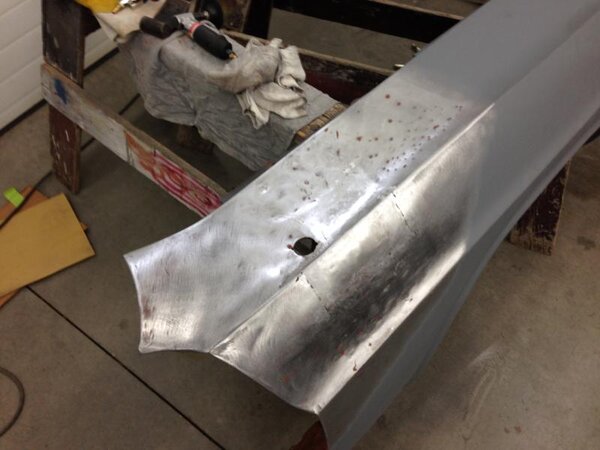
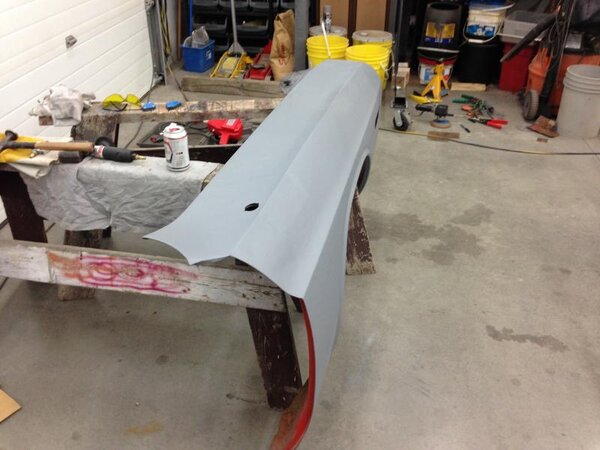
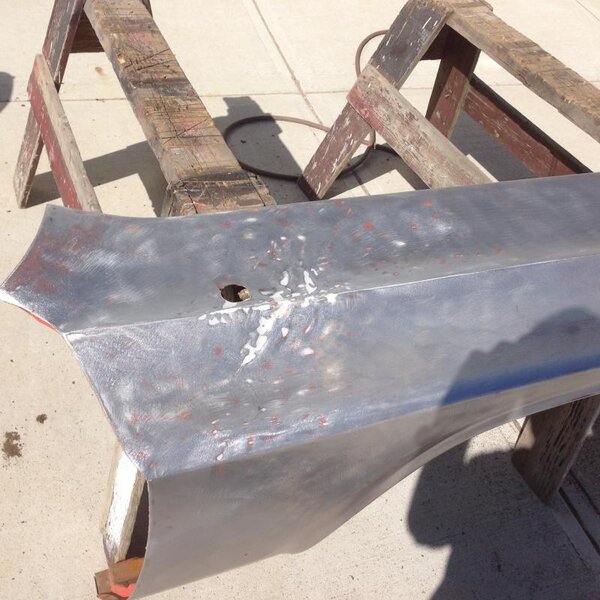
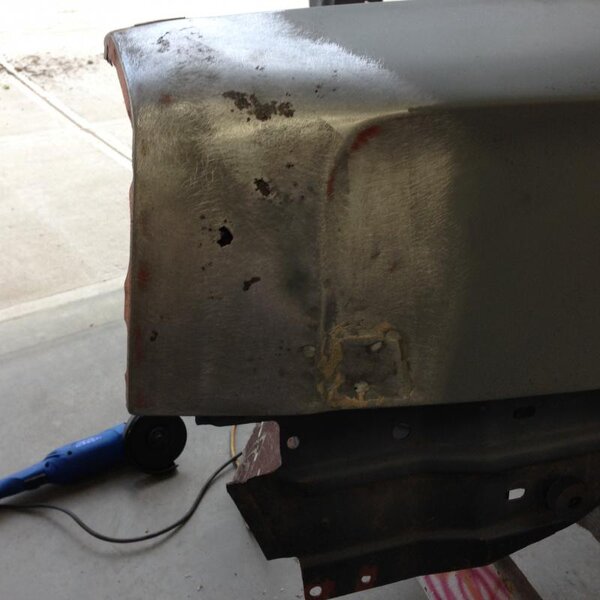
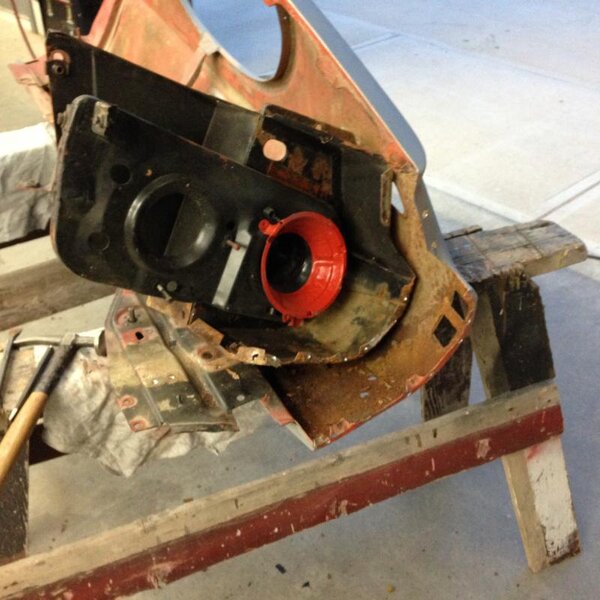
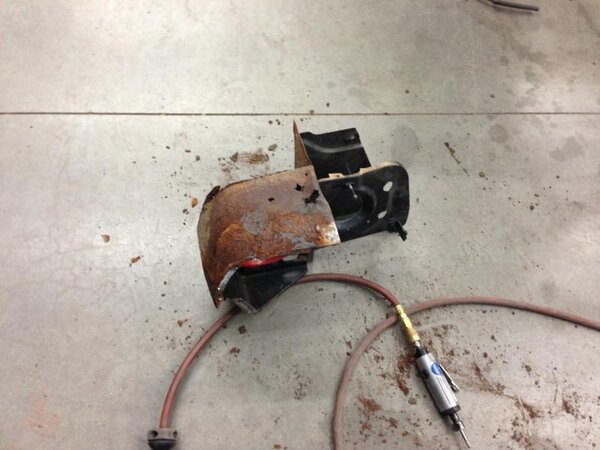
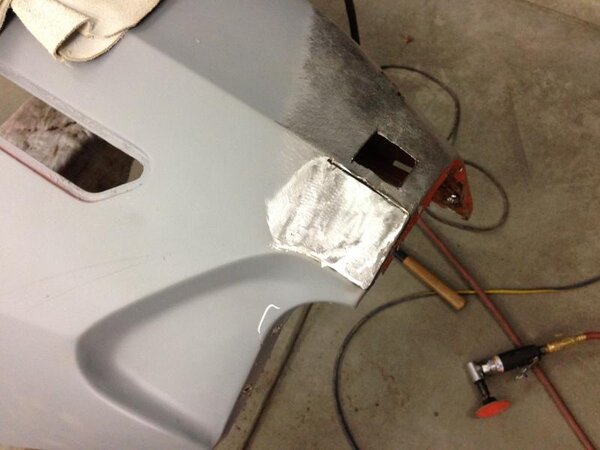
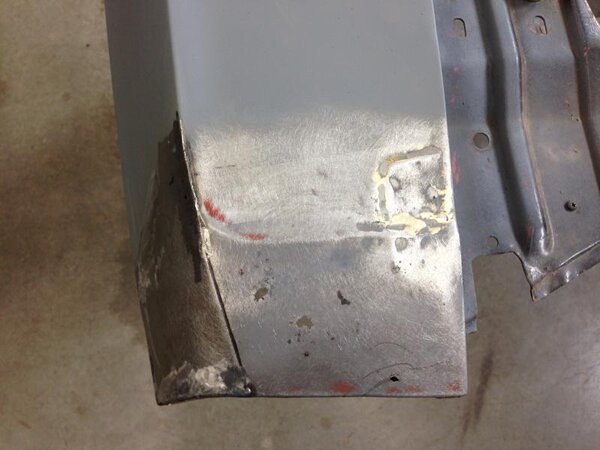
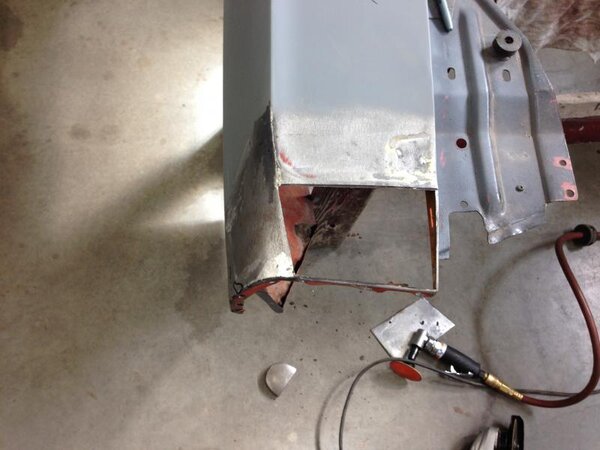
Well I figured I would dig in to it and see how bad it is. There was a whole pile of crap tucked in there. I had to drill out the headlight mounting bracket. It will need some patching too. But I figure I'm going to give it a try. If I can make all my patching look like this first one I did I will be very happy.


js29
Well-Known Member
might as well give it A try, what have you got to loose!
gdrill
Well-Known Member
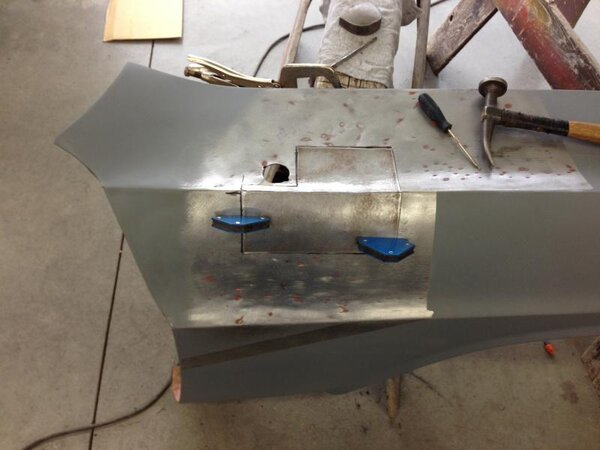
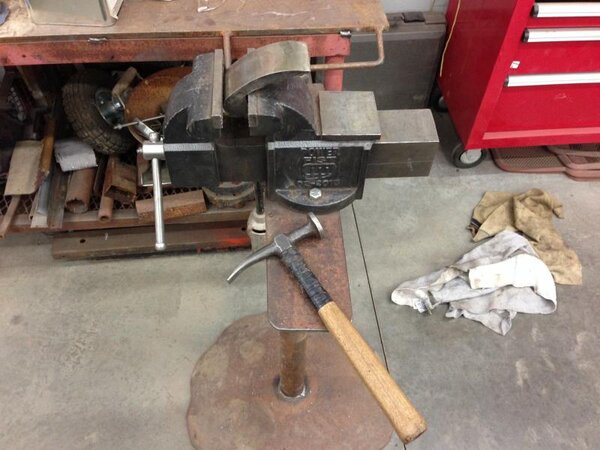
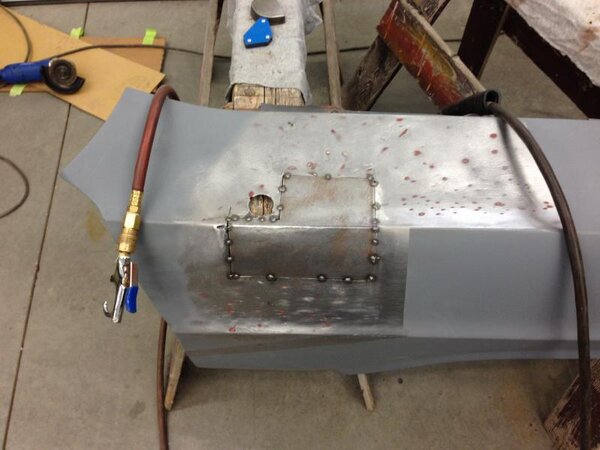
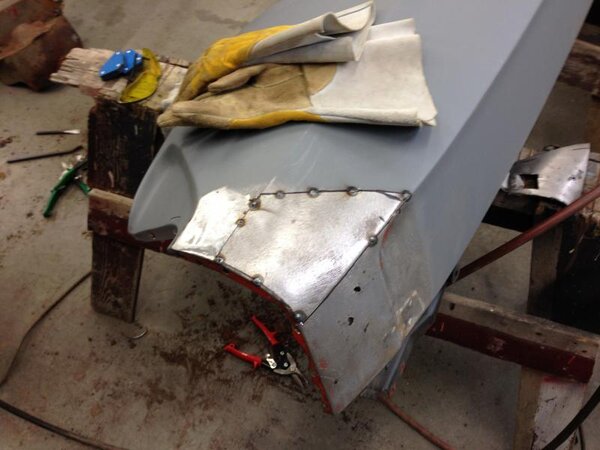
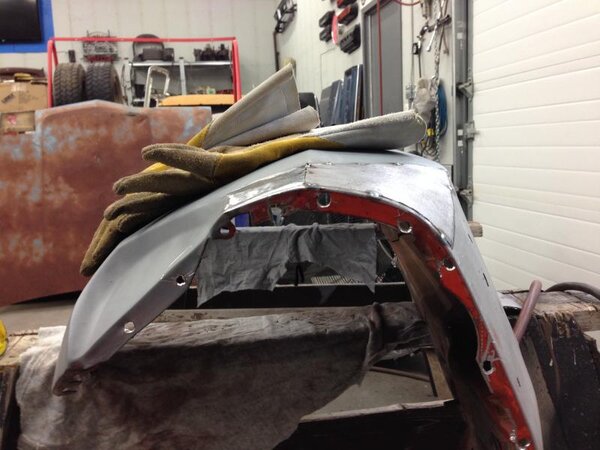
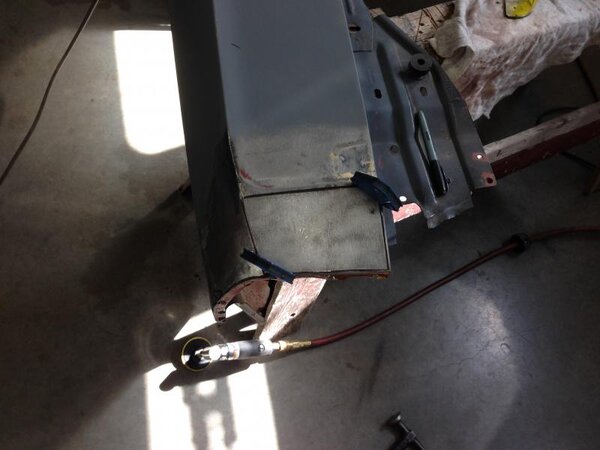
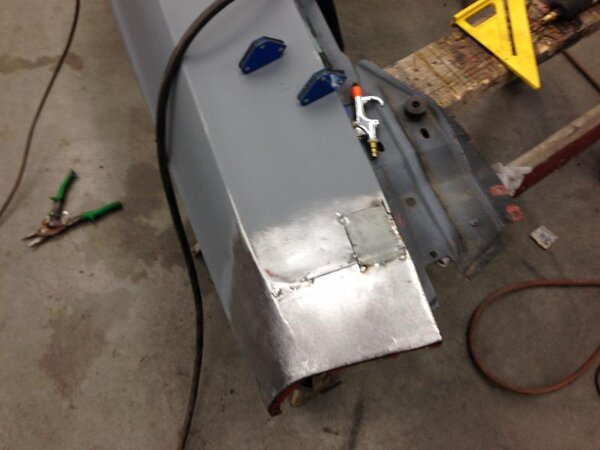
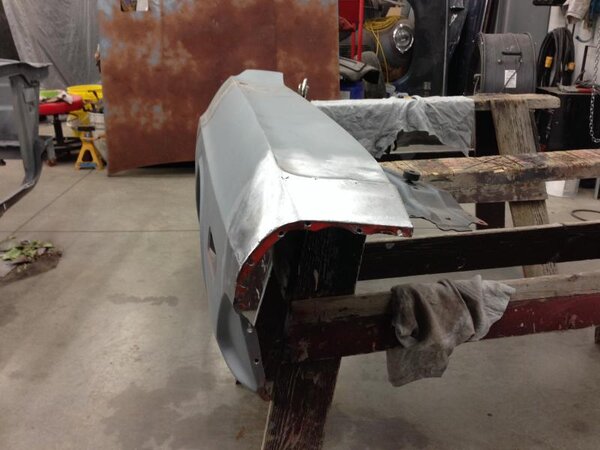
Patch by patch it is coming along. I figured it was easier to do in separate pieces vs trying to form the whole thing at once. I will also have to cut out the brazed in repair from long ago. I'm no pro so there will be some putty to cover my welds, but I am OK with that. I know at shop rates it would be far more efficient to just buy a new fender, but at my rate?? it's a great deal!!



gdrill
Well-Known Member
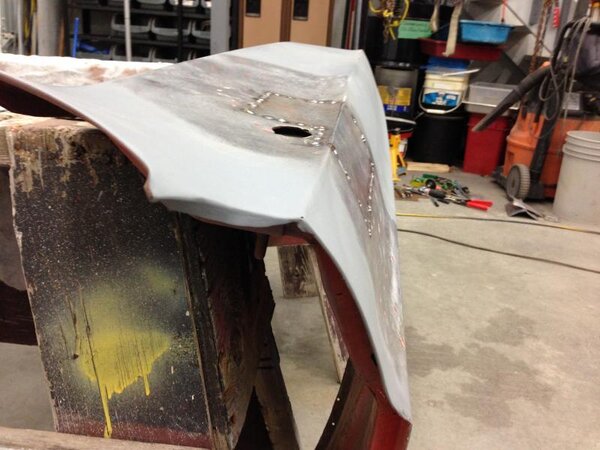
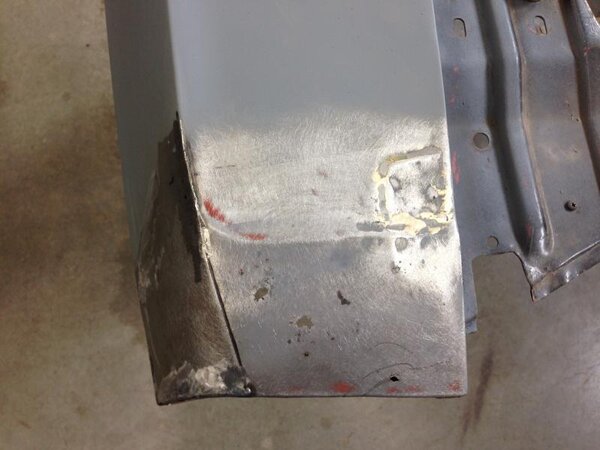
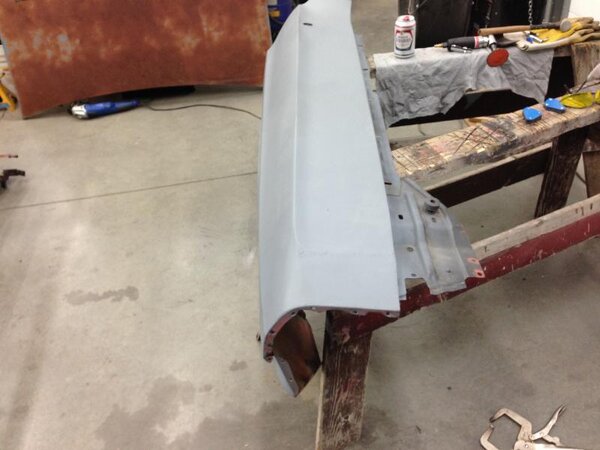
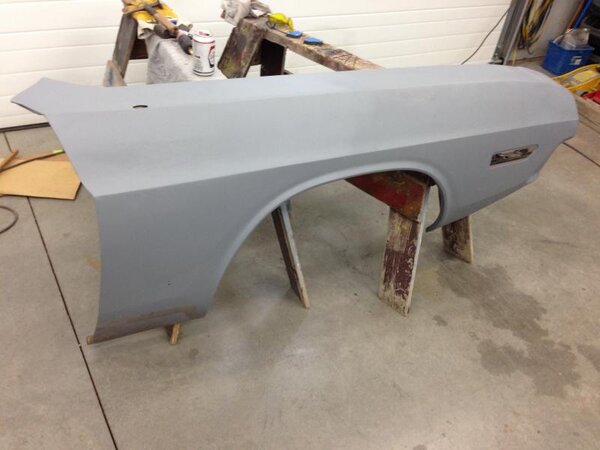
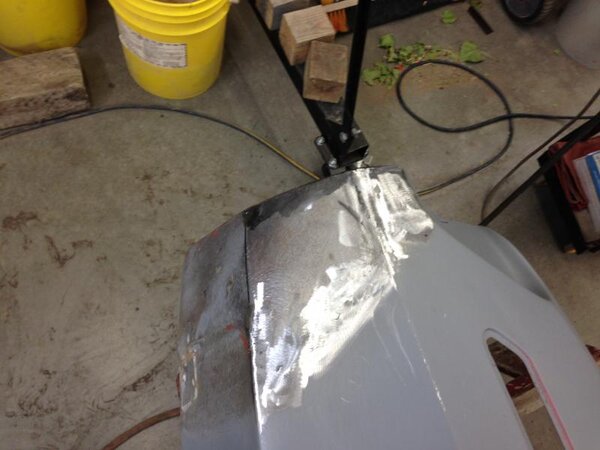
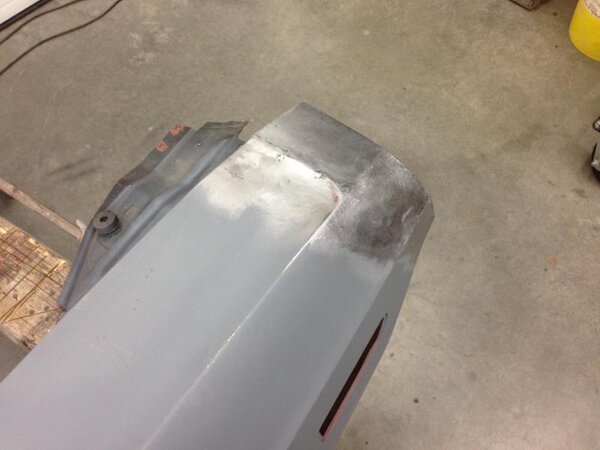
That's it for the front. Each one of my patches I did along a body line. This really helped to keep it very close to the original shape. It is rust free and only going to require a very small amount of putty to finish. I am happy because I was able to save the fender. The back will require some patching as well because it has some brazing in it too.


Last edited:
gdrill
Well-Known Member
challenger6pak
Well-Known Member
- Joined
- Feb 27, 2011
- Messages
- 4,075
- Reaction score
- 920
Looking great! Back before restoration parts were available, we would have to take three cars to make one. We would build them just like you are doing.
gdrill
Well-Known Member
challenger6pak
Well-Known Member
- Joined
- Feb 27, 2011
- Messages
- 4,075
- Reaction score
- 920
Yes. Guys that didn't have much cash used coat hangers for welding wire. Interior floors were covered with a thin coat of roofing tar to keep rust away. If you couldn't weld it with a coat hanger you used Scotchbrite soaked in fiberglass and filled the holes before the glass hardened. It worked best if the glass was mixed hot. Once the glass stopped smoking you would put a coat of bondo over it. Great thread. The car will be nice when done. I'm glad you are saving it. 71's seem too overlooked.
moparlee
Well-Known Member
That is fantastic metal work you are doing there. Way to go on saving that fender. You have the right approach on attacking one piece/section at a time. Can't wait to see you start on the quarters and wheel houses.
DetMatt1
Well-Known Member
Excellent work! I think you're a natural.
gdrill
Well-Known Member
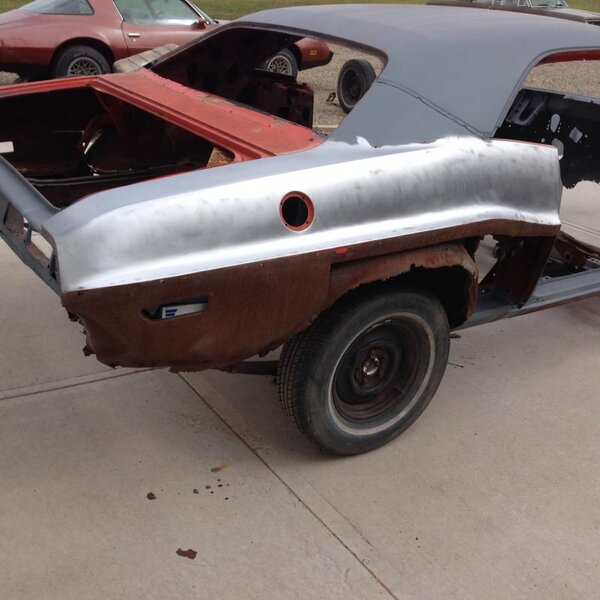
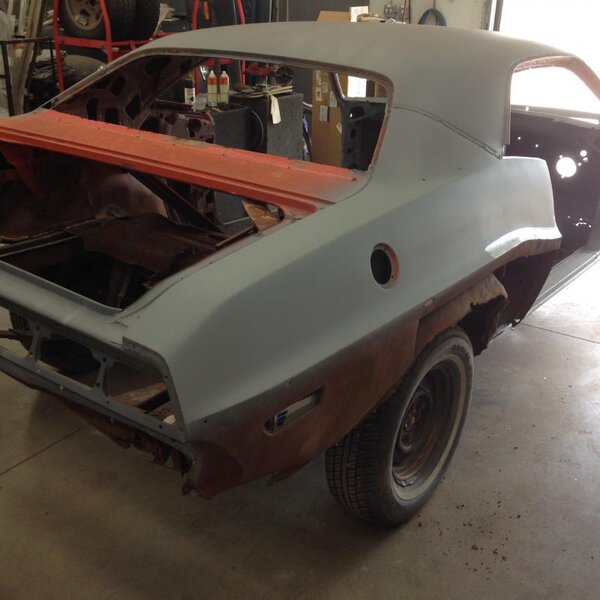
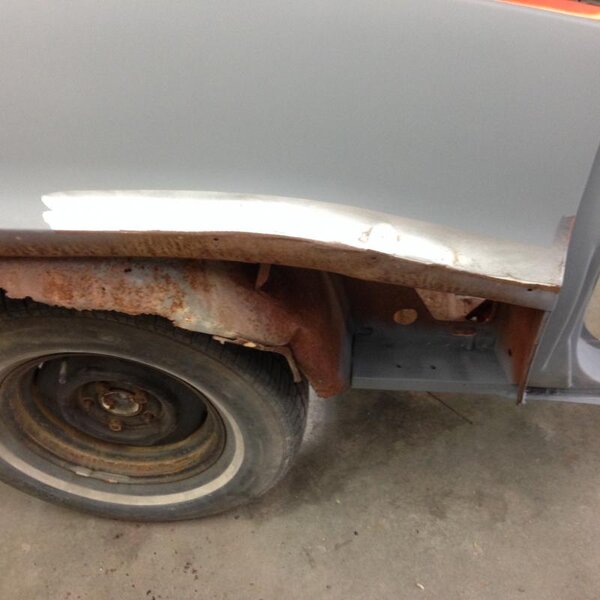
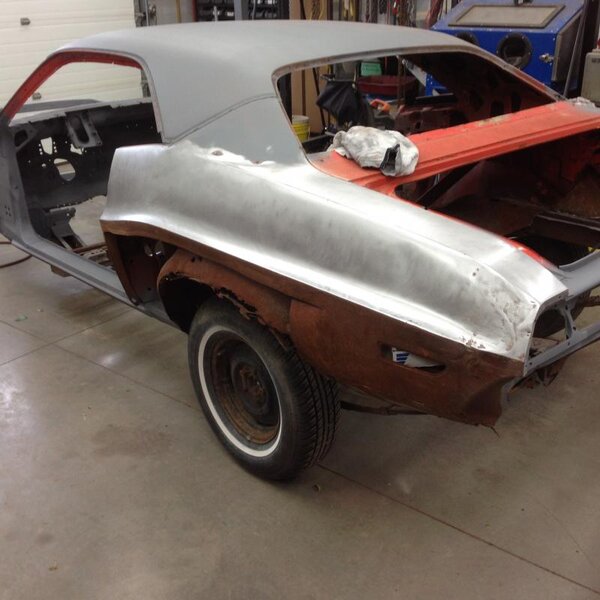
Thanx guys. I appreciate the comments. It's very motivating to see the before and after. I just figure if someone can do it, I can too. I am learning the taking my time and fitting the pieces over and over really helps to get them correct. Well correct enough anyway!
DetMatt1
Well-Known Member
I'm serious, not everybody can do that. You've got good hand to eye coordination and can think in three dimensions.
gdrill
Well-Known Member
gdrill
Well-Known Member
Similar threads
- Replies
- 2
- Views
- 244
- Replies
- 35
- Views
- 1K
- Replies
- 38
- Views
- 2K


